Basic Skiing Course - Gulmarg
Learn to Ski in 08 Days - For Absolute Beginners
Available Batches
Brief Description
Brief Itinerary
Detailed Itinerary
Day 1
Make your way from Srinagar to Gulmarg
Distance: 47 kms
Time Taken: 2-3 hours (based on traffic)
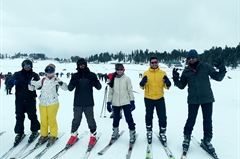
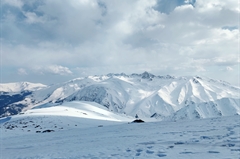
The Basic Skiing Course is held in Gulmarg: a place that is fondly referred to as the Skiing Capital of India. Travel from Srinagar to Gulmarg is not included in the course fee. If you would like to share the cost of this travel, please coordinate with your course mates in the whatsapp group we create a few days before the start date.
The drive from Srinagar to Gulmarg, although a short one, takes you through some scenic vistas of the countryside of Kashmir. You initially make your way through the city of Srinagar. Forty five minutes into the drive, houses lining either side of the road grow scant. The mountains in the backdrop become more visible. Snow, thanks to it being winters, is a constant throughout. 15 minutes later, you begin ascending a gentle slope.
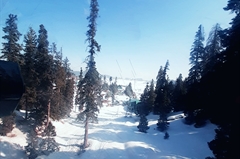
This continues all the way up to Tangmarg. At Tangmarg, the road branches out into two- follow the path on the right for Gulmarg. From this point onward, it is a steady climb up hill. Tall, alpine trees gently sheathed in snow flank your left hand side and on the right; you get treated to yawning views of the valley below.
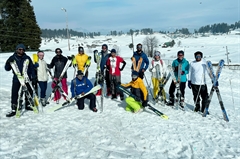
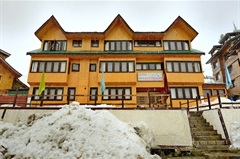
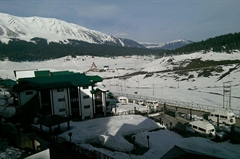
The presence of snow is more pronounced on the roads now. So, you move slower. It takes another half an hour to reach the resort in Gulmarg. After settling into your rooms, you will meet the rest of your course mates and instructors for the first time.
In the evening, your instructor will give you a brief of your Course Schedule for the next 8 days. The Gulmarg weather can range from sunny to white-out in the winters, with day time temperatures averaging around -5 degrees. So please make sure you bring proper clothing with enough warm layers to the Ski Site.
Day 2
Ski Fitting, Gliding and Side Stepping
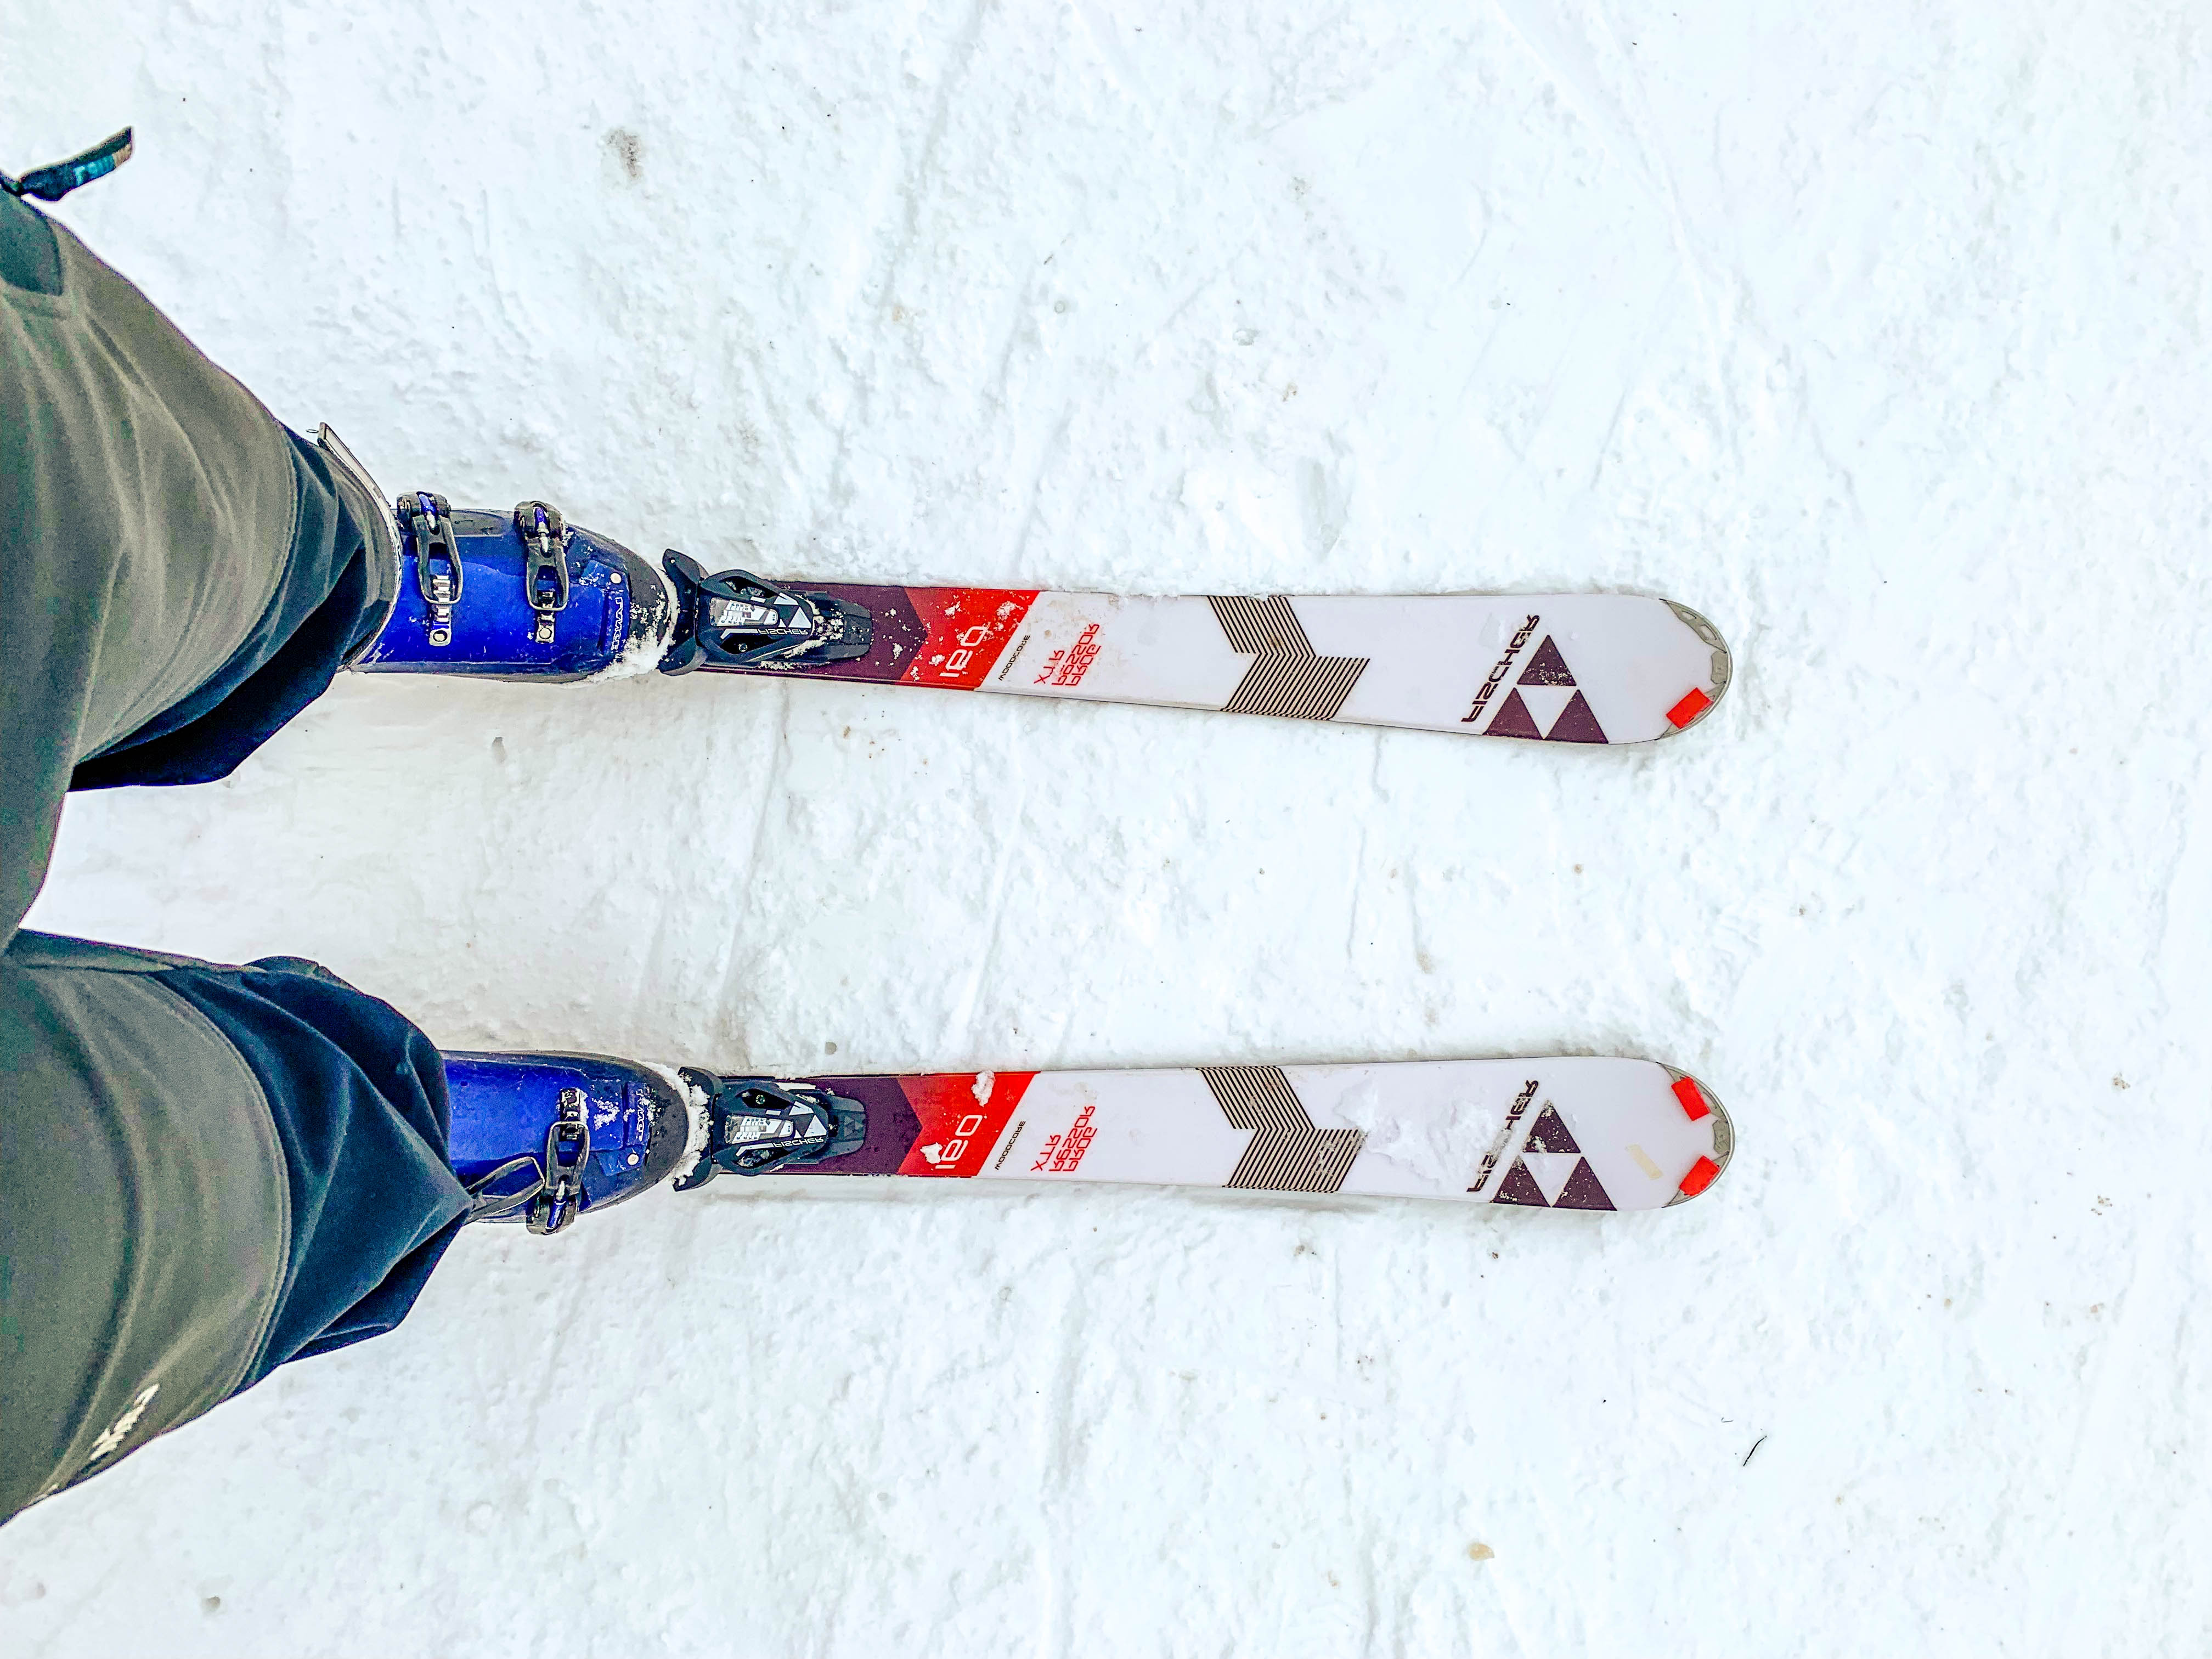
Today is technically the first day of your skiing course. As with any new course, we will begin with the fundamentals. In skiing, this would mean getting familiar with the anatomy of your skiing equipment.
Read: Know Your Ski- A beginner’s Guide to the different parts of a Ski and the functions they serve
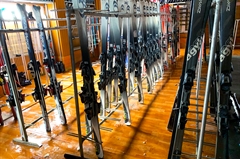
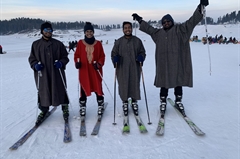
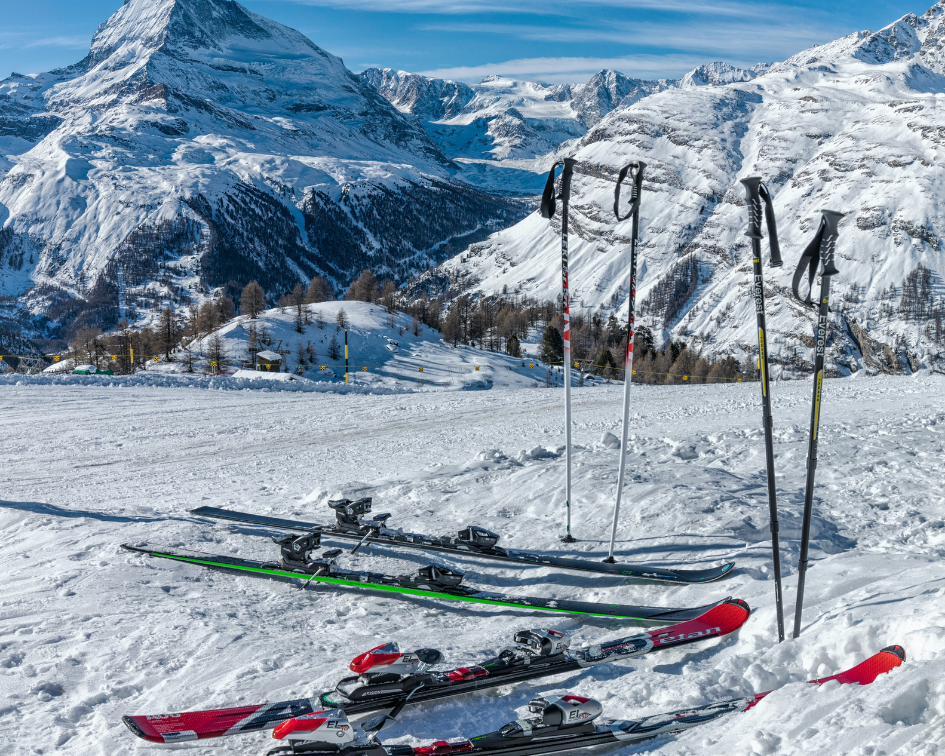
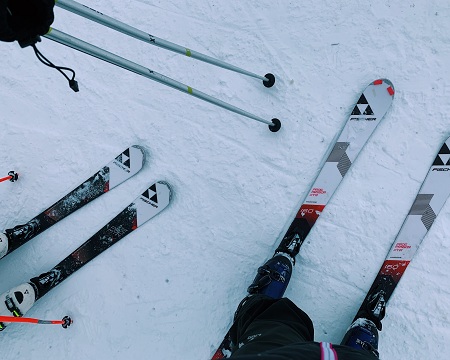
Next comes fitting of the skis. Your skiing equipment has three components: Ski Boots, Ski Poles and the Skis themselves. Bikat Adventures will be providing all of the equipment to you for the duration of the course.
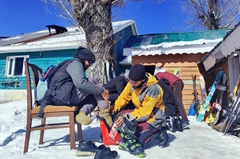
Once you are familiar with the anatomy of a ski, we will walk you through the fitting process. Let’s begin with the Ski Boots. Your boots should leave almost no room for the foot to move around. You should be able to wiggle your toes. But the calf and ankle should be largely immobile from side-to-side movement when strapped shut.
Next comes attaching the boots to your skis. The bindings are made on the ski so that the heel cup is adjustable and can be slid forward and backward along a track to fit your boot. This can be done pushing a small silver adjustor at the back. The track will have incremental measurements on it - ensure that they are the same on both skis when done with your fitting.
To attach your boot, place the toe of your boot in the centre of the toe cup, and then give a strong downward push with your heel into the heel cup until you feel it latch and hear a ‘click.’ If you are having trouble attaching the heel, slide the heel cup back on the track a notch or two until your boot clicks in firmly.
Don’t worry if most of what we are talking about above sounds unfamiliar. We will be assisting you through every step during the Basic Skiing Course.
The last thing your instructor will show you while fitting gear is the proper way to grip your ski poles - with the strap wrapped around your wrist and firmly held between your fist and the pole. The strap should emerge through the underside of your fist, not descend from the top.
Once the gear is chosen, you will be taught how to put it on correctly to make sure that you are safe and secure.
Read: How to comfortably wear your ski boots and skis? A Step by Step Guide for Beginners
Now that the theory and attiring is done, it is time for your first practical lesson- gliding down the snow on your Skis. This is when you test what it feels like to be on the skis for the first time.
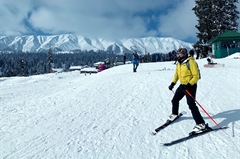
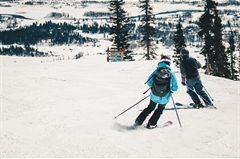
Your instructor will find a soft slope to try this out. Once you are at the top of the slope, give yourself a gentle push down the slope on your skis and try to hold your balance until you reach the end.
Now it is time to make your way to the top of the slope again to your instructor. Removing your skis every single time to climb up the slope can be a cumbersome process.
This is where your next lesson in Skiing is taught- Side Stepping. This technique is used to ascend an incline on your skis. In this technique, you place your skis perpendicular to the slope and use the edge of each ski facing the slope to push you up. After you’ve placed the outer edge of your upper ski into the incline, take your lower boot and bring it in to meet your upper foot, pushing the inner edge of the ski into the snow instead. Repeat the steps until you reach the top.
Read: How to Climb Uphill on your Skis?
Once you are at the top of the slope, glide down once again. Practice many more times until you feel comfortable with your equipment.
Day 3
Controlled Fall and Snow Ploughing
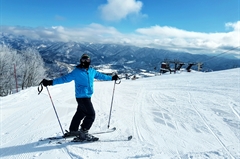
Today, you will be heading to the Baby slope of Gulmarg to continue your skiing lesson. Gulmarg has a total of 5 slopes. Three of these slopes (Baby Slope, Highland Park Slope and Slope 85) are for beginners.
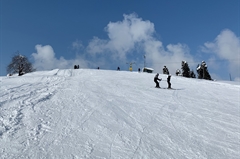
Baby slope, as the name suggests, is for absolute beginners who have never skied before. The Highland Park Slope is steeper and slightly longer than the Baby Slope. Slope 85, in contrast, is quite short but dauntingly steep.
The fourth slope, Phase 1, is for intermediate skiers. It is a 4 km long run which starts at around 10,000 ft and ends at the base station at about 7,000 ft. Although Phase 1 is a groomed slope, it has several steep sections making it fun to practice on.
The final and fifth slope is Phase 2. Ungroomed and full of deep powder, Phase 2 is for advanced skiers only. This area is avalanche controlled and is patrolled by the Gulmarg Ski Patrol.
During your Basic Skiing Course, you will ski on four of the five slopes (Baby Slope, Highland Park Slope, Slope 85 and Phase 1).
Today, our lesson begins on the Baby Slope, about 25% up the slope (not all the way from the top).
We will be learning controlled falls. Before skiing down the slopes, you need to know how to control your fall when you lose your balance. There is a reason why skiing is touted as the second best thing to flying. You are in for some serious speed (and injury) if you don’t learn to control your skis.
So that is what your day will begin with- gliding first, falling down purposefully and using the techniques taught to arrest your fall/slide down the slope.
This will be followed by your first real technique/lesson in skiing which is the snowplough! Essentially, this is how you control your speed and brake as a beginner. You sit with your weight centred between the two skis, the nose of each ski pointed in toward each other in a wide A-frame, and gently push off with your poles.
The goal is to practice control. We don’t want speed right now- just enough to keep you moving slowly down the slope in a straight line. It’s okay to fall. You probably will… multiple times. If you ever feel you are losing control and speeding up unintentionally, try widening your snowplough and lean your bodyweight forward, your shins using your boots to lean against fully. The inner edge of each ski should be slightly angled into the snow for additional control.
If you are still unable to control your speed (which is likely to happen during the initial runs until you gain a better hang of the technique), break your movement down the slope by using the controlled fall method.
After a couple of runs, we will climb up halfway up the baby slope to practice snow-plough once again. After lunch, we will begin right from the top of the Baby slope and ski down its full length using the snow plough technique.
This will continue till 4 or 5 in the evening. You are likely to feel wiped out by the end of the day. Take some rest once you go back to your resort. You have earned it. Freshen up and explore Gulmarg later in the evening if you feel like it.
Day 4
Stem Turns and Parallel Skiing
Snowplough turns prepare you with the technique and confidence that you need to begin stem turns and eventually parallel turns when your control, balance and confidence with speed has increased. In the morning, we will begin with practicing snow plough and snow plough turns. Your instructor will introduce you to stem turns post lunch on the Baby Slope.
Stem turns are a hybrid between the snow plough and parallel turns. Since the skis in snowplough position will naturally act to slow you down, parallel skis help you to accelerate. On a stem turn, you begin cutting across the slope with parallel skis, shifting into snowplough when it is time to turn and push the appropriate foot into the snow. Once the turn is complete and you are moving back across the slope, you resume the parallel position once again.
Every time you are in parallel position, you will notice that your skis pick up speed. Training from the previous days will make you instinctively shift to snow plough to slow down. Resist the urge. Maintain the parallel position until you want to turn. Switch to snow plough only during the turn.
Once you master this, you are only a step away from parallel skiing!
Day 5
Advancing to the Highland Park Slope and Slope 85
Today is a going to be a challenging day. We advance to the Highland Park Slope and Slope 85.
In the morning, you will try to traverse down the Highland slope using a mix of snow plough and snow plough turns. The focus during the first few tries is to maintain your balance and get used to terrain of the Highland Slope. Remember, the Highland Slope is steeper, longer and trickier to navigate than the Baby Slope.
During the first few tries, we have had skiers tell us that they have lost all the skills they picked up the previous day. If you find yourself feeling the same way, do not let it dishearten you. The key is to keep trying. It takes time and practice to get used to the terrain. By afternoon, you will find yourself feeling more confident on the Highland Park Slope.
Post lunch, we will shift to Slope 85 and practice a couple of runs there until evening. Go back to your resort afterwards and rest for the night. Tomorrow is going to be a BIG DAY.
Day 6
Advancing to Phase 1 of the Slope (Gondola to the top of Phase 1)
Today is hands down the MOST THRILING DAY of your Basic Skiing Course. You advance to Phase 1.
Phase 1 is meant for intermediate skiers. This is where you put all the skiing skills you had picked up over the last week to test. Phase 1 is a 4 km long run. So, you are going to need all your energy and willpower to finish strong on this day.
After a healthy and nourishing breakfast, we will take the gondola to the top of Phase 1 (tickets are a part of the course fee).The anticipation starts building from the moment the Gondola starts climbing up the ropeway. It is a beautiful ride. Observe the fresh snow on the slopes of Phase 1 below you. Alpine trees and gujjar huts mark sections of the slope. Phase 1 starts at around 10,000 ft and ends at the base station at 7,000 ft. Although Phase 1 is a groomed slope, it has several steep sections making it a fun stretchto practice on.
The terrain, you will notice, is strikingly different from the beginner slopes of Gulmarg. Sections of rock, gravel and soil with mounds of hard and soft snow mark the slopes here, making skiing on it extremely challenging. Expect to fall plenty of times along the way.
Once you complete Phase 1, you can go back for a second round. Alternatively, you can also take the Gondola from Phase 1 (10,000 ft) to Phase 2 (14,000 ft). Phase 2 takes you to the top of the Apharwat Peak. The views here are breathtakingly beautiful.
That said, Phase 1 to Phase 2 involves quite a bit of an altitude gain. It is not uncommon to feel the effects of the altitude here.
Day 7
Gondola to the top of Phase 1, Skiing Course Assessment, Certification and Medal Distribution
Today is the day when you put your skills to test, literally. It is time to assess your skiing skills. Your instructor will test you on your knowledge of skiing (theory + practical) and grade you for the certification. Expect to be tested on snow plough, snow plough turns, side stepping, and stem turns with parallel skiing.We will use the morning to brush up on our skills with a practice run from Phase 1.
This will be followed by a competition- a mini slalom style race- held on a slope chosen by your instructor. During the competition, you will be evaluated on three factors: speed, technique and control.
After the competition, there will be a closing ceremony where certificates and badges will be distributed.
After the closing ceremony, we will take a Gondola to the top of Phase 1. Practice for a while and come back skiing down phase 1 and back to the hotel.
Day 8
Depart from Gulmarg
Distance: 47 kms
Time Taken: 2-3 hours (based on traffic)
It is now time to bid adieu. There is no skiing today- only a resolution promising and hoping to return again for the Intermediate Skiing Course. The sport, you will come to realise, is addictive. You will find yourself wishing you could extend your holiday to stay back and learn some more.
The cost of travel from Gulmarg to Srinagar is not included in the course fee. After breakfast, you can start your journey to Srinagar. If the timings are planned well, you could maybe catch a peaceful shikhara ride in Srinagar before you board your transport back home :)
What's Included
- Ski Equipment for 6 days (Skis, Ski boots, Ski poles, Helmets)
- Ski instructor for 6 days
- Gondola ski day passes for 2 days
- Ski bar passes
- Ski competition
- Bikat Course certificates for all students
What's Not Included
- Any portage services on the slopes
- Any expenses of a personal nature
- Travel or Adventure Insurance
- Anything not specifically mentioned in Inclusions
- Gloves and personal woolen clothes
Are you Eligible for this Adventure?
BRS Level Required
Skiing demands physical stamina. Each day, you will be actively skiing down slopes and climbing up while carrying your skis. A strong core and good fitness are mandatory to keep up with the demands of this course.
While prior skiing experience is not mandatory, it is beneficial to be physically prepared. As a benchmark, you should be able to jog 5 kilometres in under 35 minutes. This ensures that you have a certain level of cardiovascular fitness required for the course. Adding some resistance based workouts into this can ensure you complete the course comfortably and enjoyably.
If you do not know what level of BRS trek would suit you best, worry not! Fill out this Form:
we will send you a progression chart to help you comfortably get out of your comfort zone in order to level up and ultimately reach your highest potential in the big, bad world of outdoor adventure.
Packing List
- Ski Socks (Knee length)
- Ski Pants (any outdoor waterproof pants will do)
- Windproof jacket
- Gloves (waterproof with a warm layer inside)
- Sunglasses / Ski Goggles
- Neck Gaiter
- Warm Cap
- 3 sets of Quick Dry T shirts
- 2 pairs of Quick Dry Pants
- Thermals
- Toiletries
If you are new to skiing and are wondering how to attire for your upcoming skiing course, then this article is for you. It lays out the basics of what you will need to keep yourself protected from the cold and the harsh sun. How to Attire for your Basic Skiing Course - Essentials for Beginners
Frequently Asked Questions
Why Bikat?


Personalised Experience
3:1 Participant to Instructor ratio

Certified equipment
State of the art certified equipment that will see you through your entire course

Certified Instructors
Learn from highly skilled and certified instructors who are passionate about skiing

Safety
Our impeccable track record ensures you are in safe hands throughout the course

Expertise
Capability to Run trips in remote and difficult regions


Eco-sensitive approach
We conduct out courses in an eco-friendly manner

Team
Very competent, committed and cohesive team
What our customers Say
Cancellation Policy
Cash refund
Cancellations up to 30 days prior to departure date
Cancellations between 30 days to 15 days prior to departure date
Cancellations within 15 days prior to departure date
Voucher refund
Cancellations up to 5 days prior to departure date
Cancellations within 5 days prior to departure date
- Cash refund is applicable only in case of bookings made without using any promotional offer code or vouchers
- This is only a brief of cancellation terms. For finer details please refer Detailed Cancellation Policy.
Blog Posts
Similar Adventures
Introduction to Skiing
Get Introduced to Ski in 5 Days - For Absolute Beginners
Kashmir
5 days
BRS 3
3780 m
Intermediate Skiing Course - Gulmarg
Kashmir
08 Days
BRS 5
4000 m
Advance Skiing Course - Gulmarg
Kashmir
8 Days
BRS 6
4300 m
